![OPI_with_Tag_RGB_300dpi_3in_tall-1.png]](https://knowledge.opisystems.com/hs-fs/hubfs/OPI_with_Tag_RGB_300dpi_3in_tall-1.png?height=50&name=OPI_with_Tag_RGB_300dpi_3in_tall-1.png)
In order to finalize your OPI install training and become Level 3 install certified, you need to submit the Level 3 Install and Site Certification Application with the required installation photographs for evaluation. Once submitted, the application will be reviewed by your OPI Success representative and there will either be comments for changes that need to be made onsite or you will receive Level 3 Install Certification and the installed site will also receive warranty. Below are some pictures and descriptions of the information OPI needs to certify you as an installer:
This mobile phone friendly link is located here and below for convenience - (Level 3 Application)
- Gateway Installation: You need to submit a photograph of the Gateway Node installation site, demonstrating a clear line of sight view of the bins/cable node installation locations if possible.

- Gateway Node Power Panel: You need to submit a photograph of the Gateway Power Panel Enclosure. The picture needs to demonstrate that the Gateway Node is connected to POE1, and the Internet Connection is connected to POE2, with the POE2 switch in the correct position.

- Cable Node Installation:
- CN01: You need to submit a photograph of the CN01 installation, highlighting the wiring of the INT2 connection inside the CN01 node.

- CN08: You need to submit a photograph of the CN08 installation, highlighting the wiring of the INT2 connections into the CN08 CNE base inside the node.
- CN01: You need to submit a photograph of the CN01 installation, highlighting the wiring of the INT2 connection inside the CN01 node.
- Cable Installation: You will need to submit a photograph of either the external or internal mount of the cables, highlighting the external bracket, angle of cable on angled roof, and Eye Bolt installation if cables are mounted internally.

- Weather Station Installation: You need to submit a photograph of the weather station installation location, showcasing that it is installed at the correct elevation, and that it is not installed too close to a body of water or the fan exhaust.

- Fan Node Installation: You need to submit a photograph of the fan node panel, showcasing the wiring from each connected component into the Fan Node terminals.

- Plenum Sensor Installation: you need to submit a photograph of the PP0T installation, demonstrating that it is installed in the bin wall positioned where the plenum space is located between the plenum floor and ground floor. Additionally, the PP0T needs to be installed approximately 45 degrees away from the fan location.

Blue Lite Installs: These installs will not require as many pictures as the OPI Blue installs, but they do have some specific pieces of hardware that we would like to verify are installed correctly.
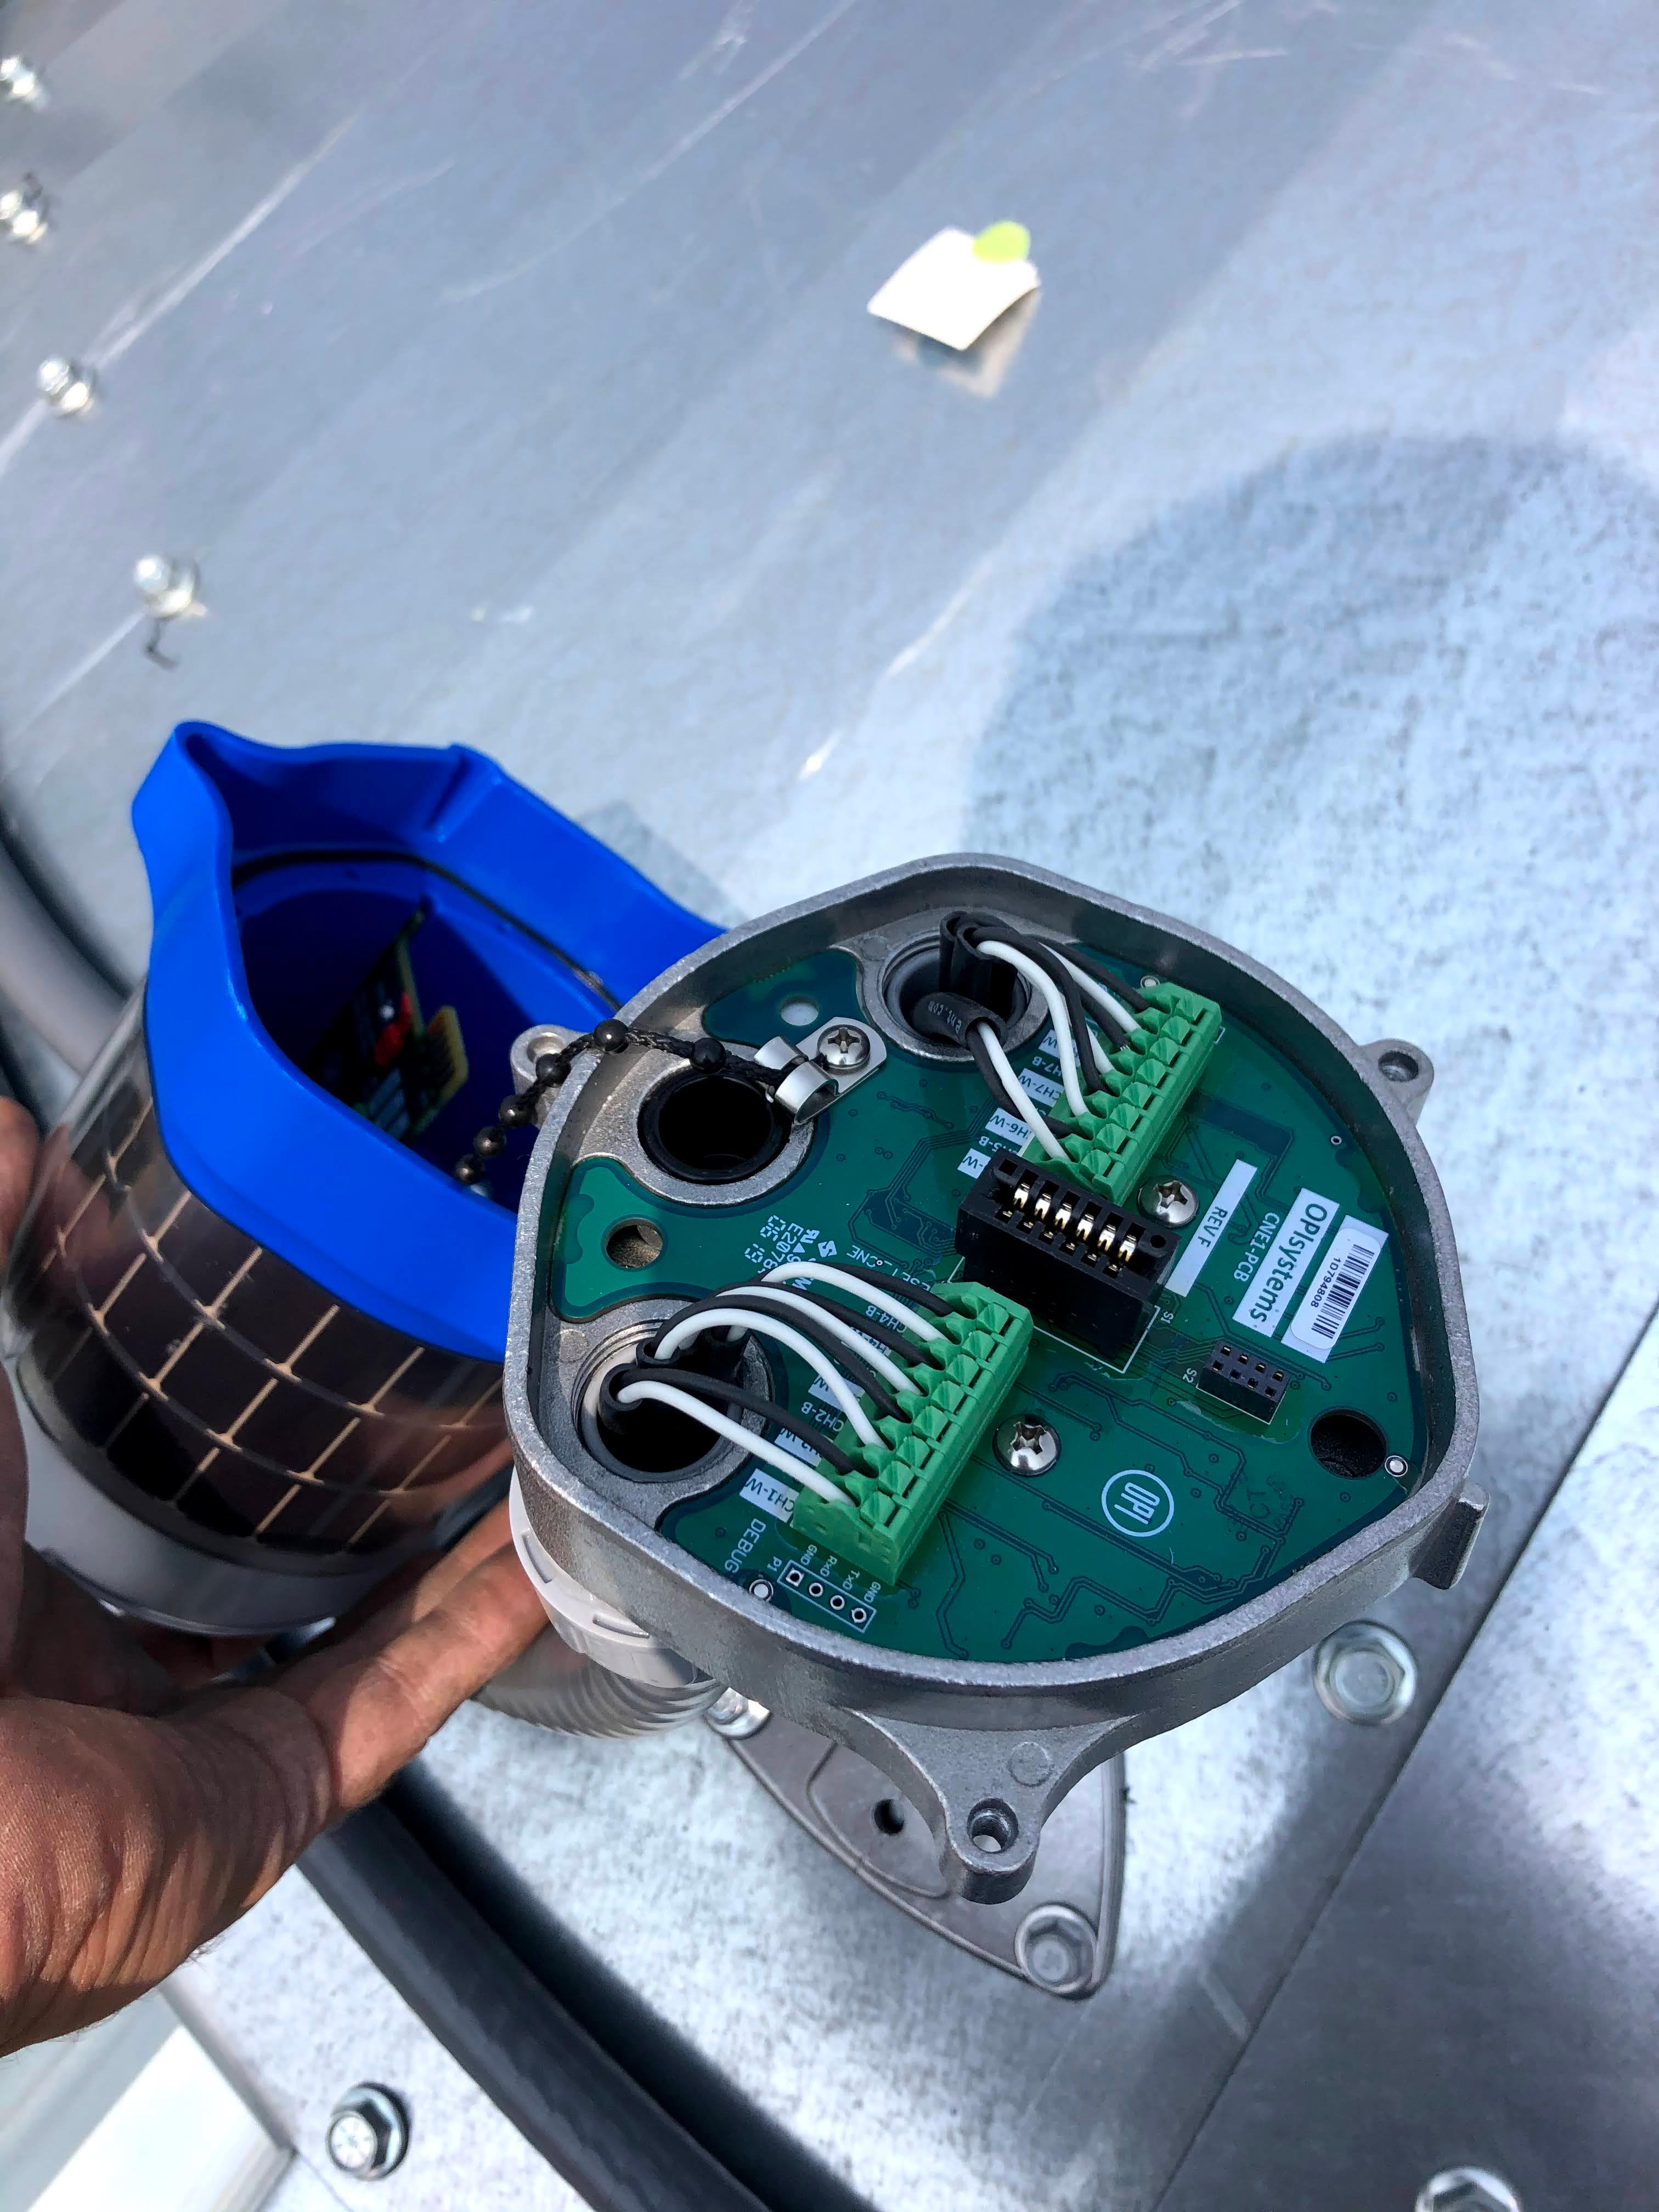
1. Cable Junction Enclosure (pictured) or 3 to 1 Splitter: Whatever the set up is for having multiple cables come together into a single read out point, we will need a photograph of the connection of the cables to verify that it is done correctly.

2. Docking Station: This will be at the bottom of the bin and be the single read out point for your customer's Blue Lite. Please highlight the drip loop and the read out point being installed into the INT2-DOCK-SHRT.

To become a certified OPI installer, you will need to use this link (Level 3 Application) during your install. Fill in all the required fields, and submit your information. Your territory OPI Success Representative will review your application and give feedback on changes if they are needed in the field or on ManageGrain.com.
Thank you so much for being a valued OPI partner and for taking the extra steps to become install certified!