![OPI_with_Tag_RGB_300dpi_3in_tall-1.png]](https://knowledge.opisystems.com/hs-fs/hubfs/OPI_with_Tag_RGB_300dpi_3in_tall-1.png?height=50&name=OPI_with_Tag_RGB_300dpi_3in_tall-1.png)
CN Battery Replacement Procedure
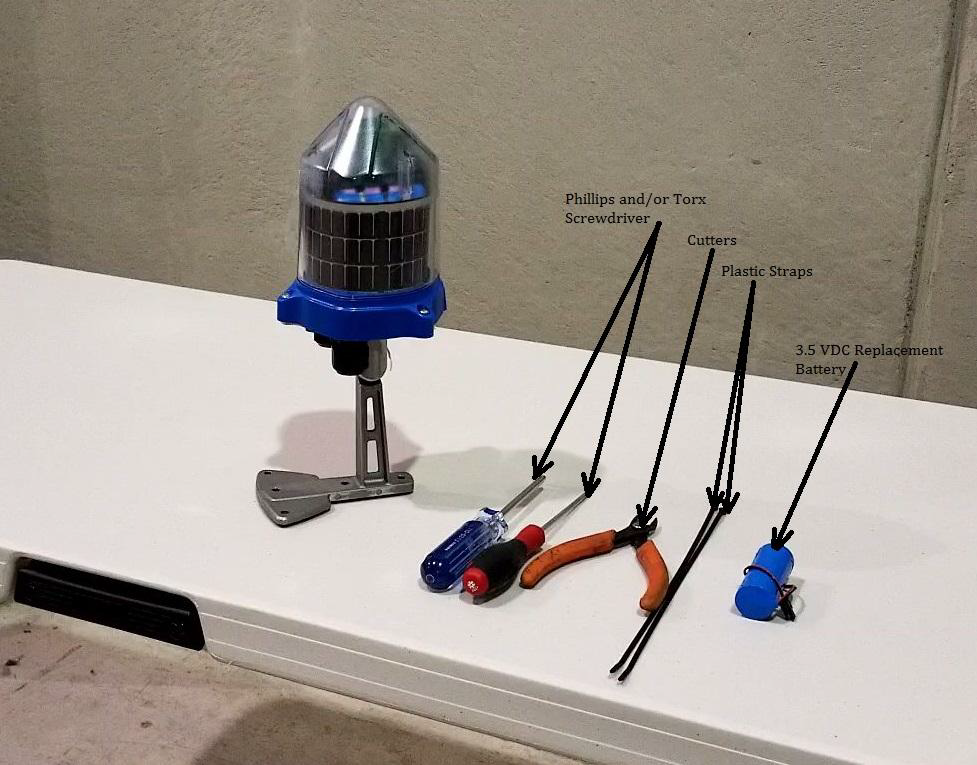
1) Tools/elements needed
a) Tools
i) Phillips and/or Torx screwdriver
ii) Cutters
b) Elements
i) 3.5 VDC Replacement Battery
ii) A couple of plastic straps (zip ties)
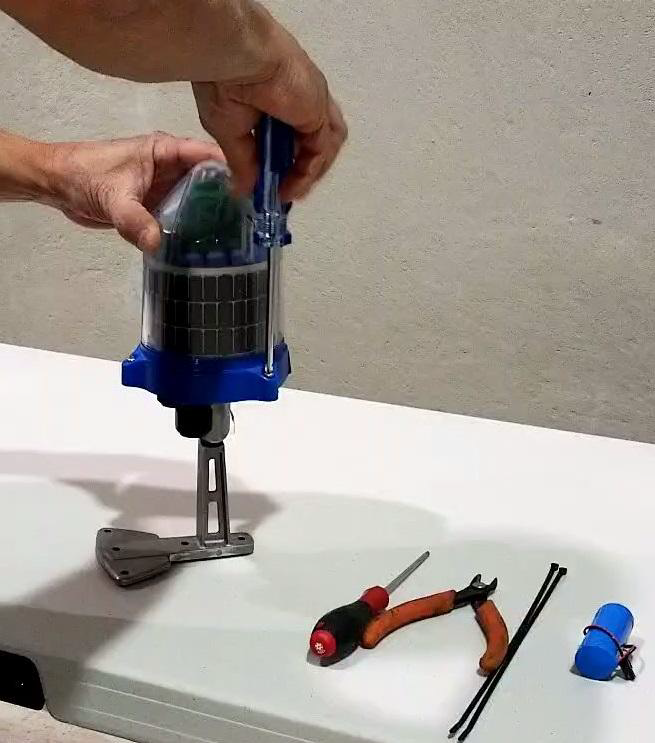
2) Procedure
a) Open the cable node Using a Phillips (or Torx older hardware versions) screwdriver
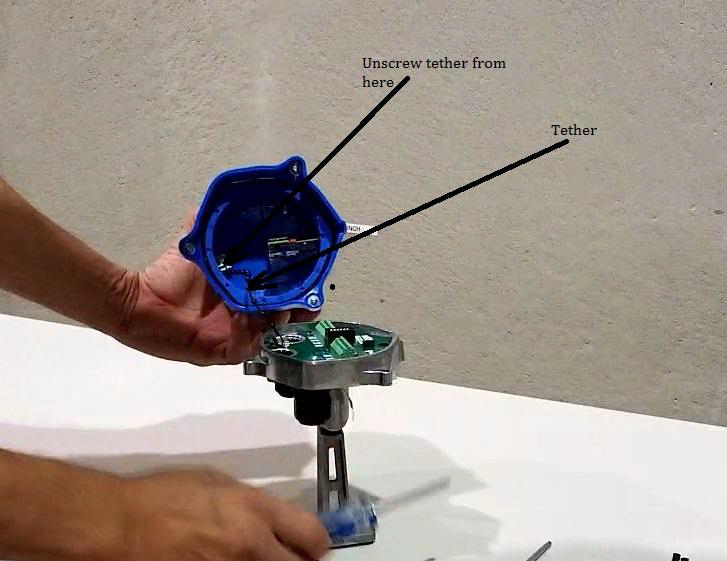
b) Separate upper and lower -puck- parts by unscrewing the tether (little black plastic chain)
from the upper part of the cable node (CN)
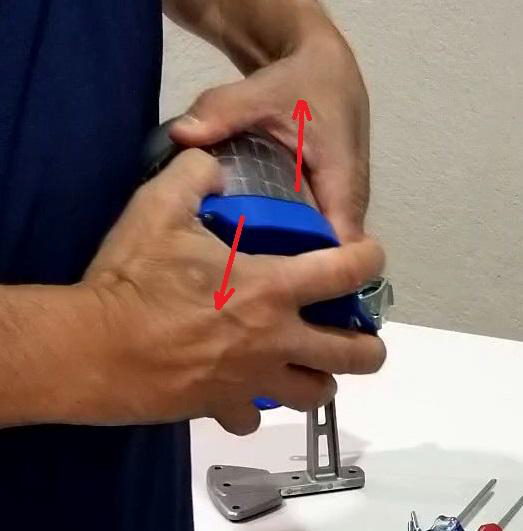
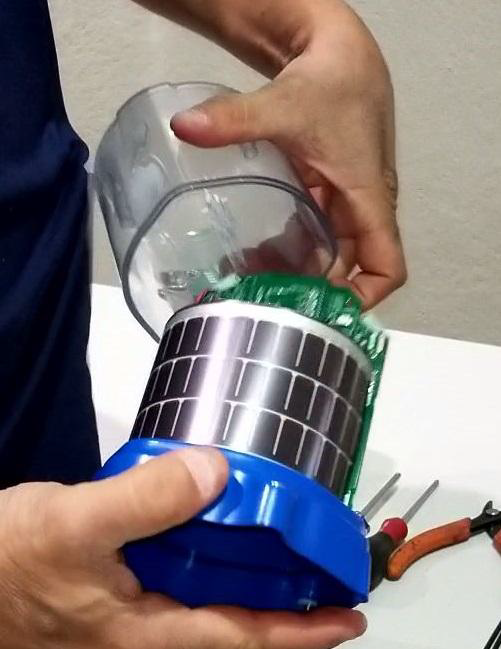
c) Take the CN’s cover (transparent cap) out by unscrewing the two remaining screws (using
Phillips or Torx screwdriver)
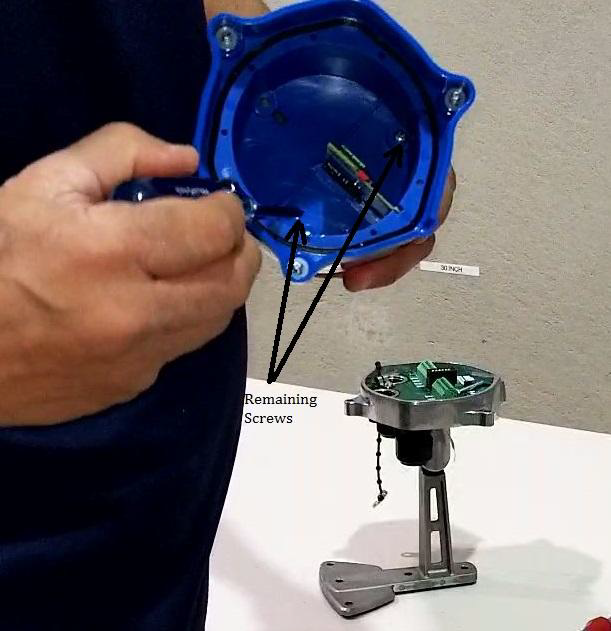
and loosing the two parts (cover and base) carefully so no to damage the solar panel or
any other internal component (by applying moderate opposite pressure on both parts).
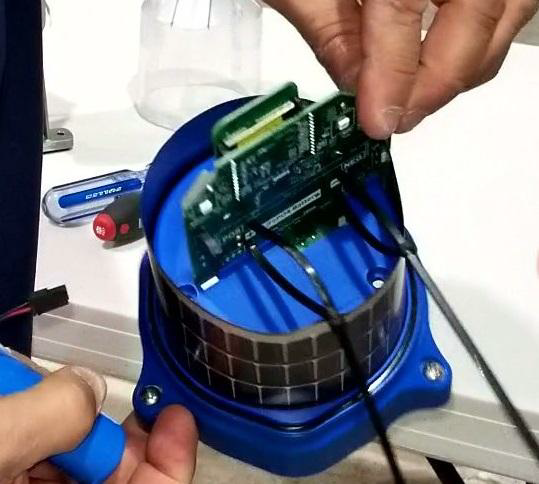
d) Break (using the cutters) and pull out the battery’s holding plastic straps

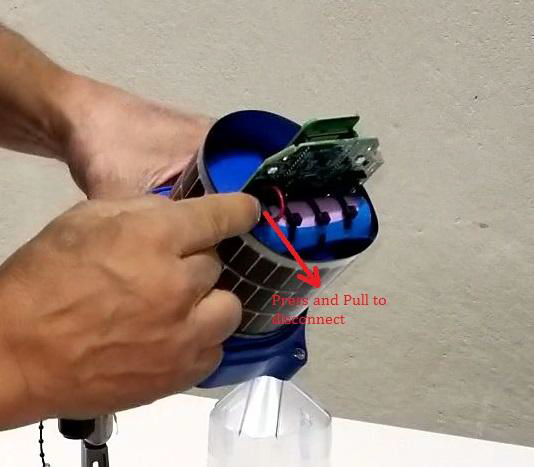
e) Disconnect the battery from the main board terminal and pull it out
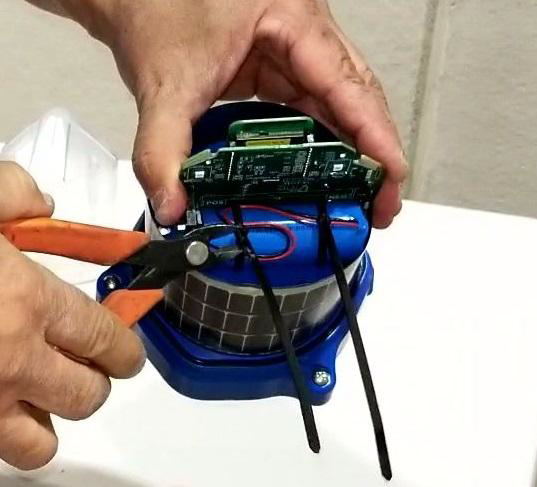
f) Put the new plastic straps (two instead of three using the four external holes found in the
main board for this purpose) in place and get them ready to hold the new battery
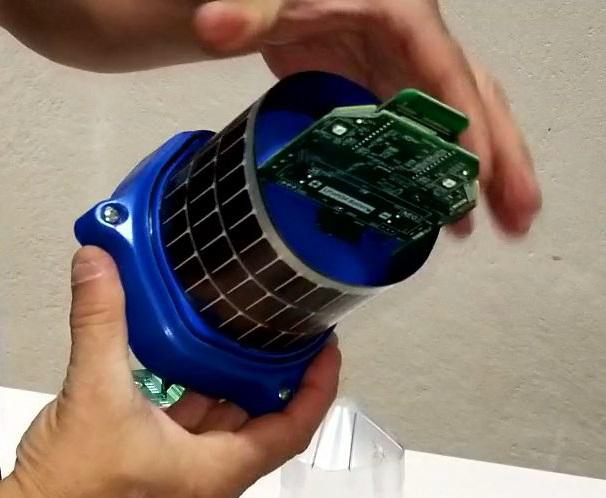
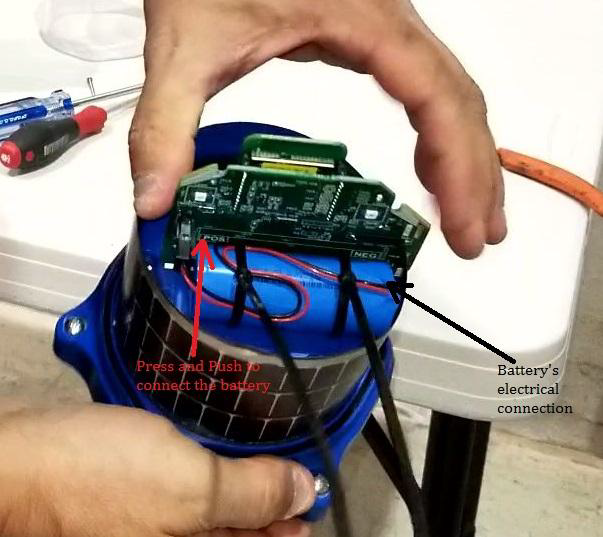
g) Put the brand-new battery in place with its electrical connection wires on the opposite
side to the main board connection terminal (as shown in the picture), and connect the
battery to the main board connection terminal
h) Adjust (tie) the plastic straps and cut the leftovers.
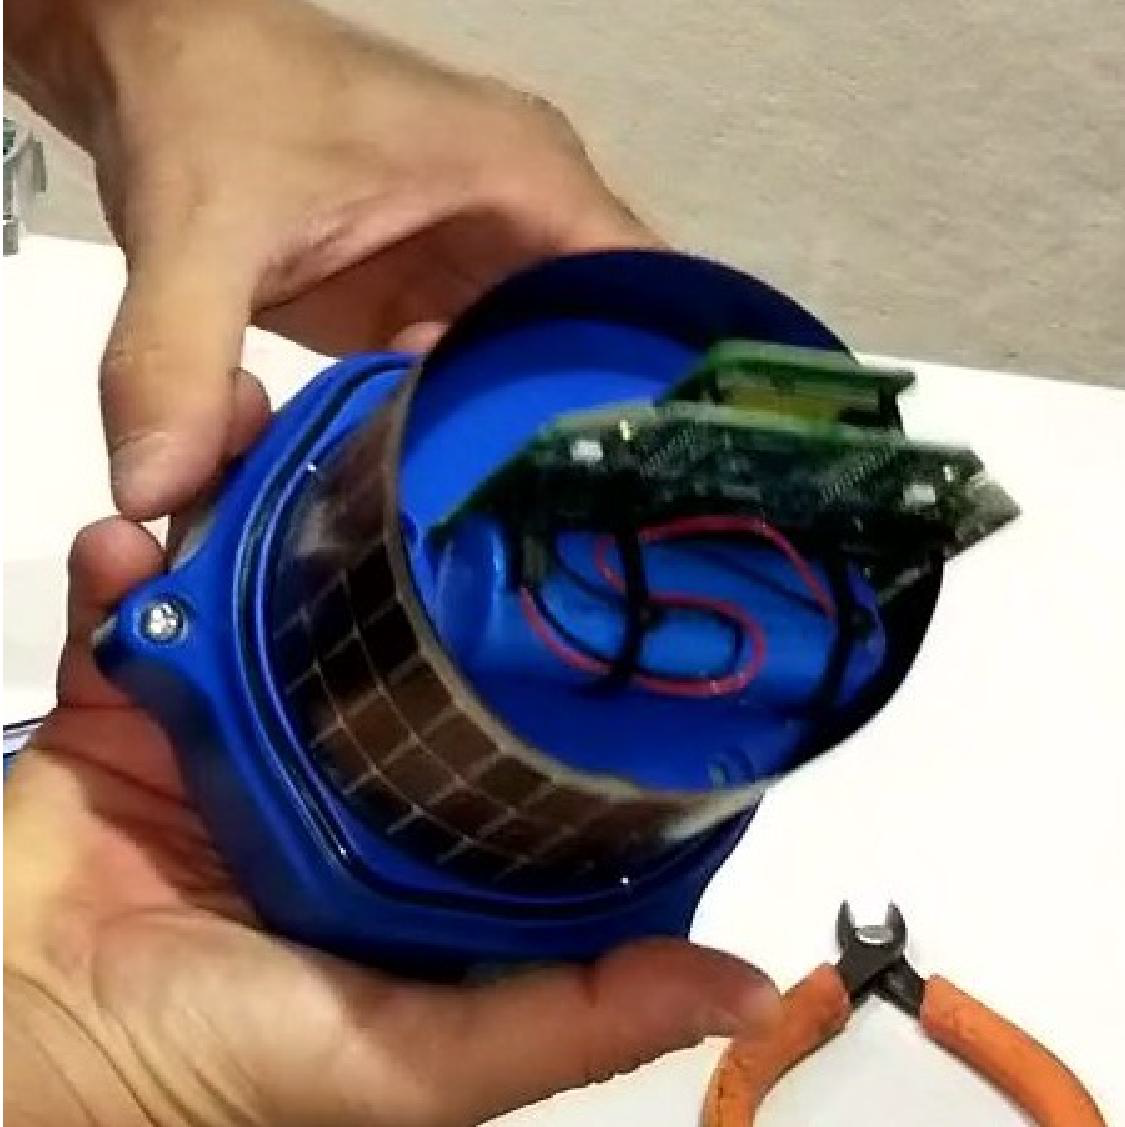
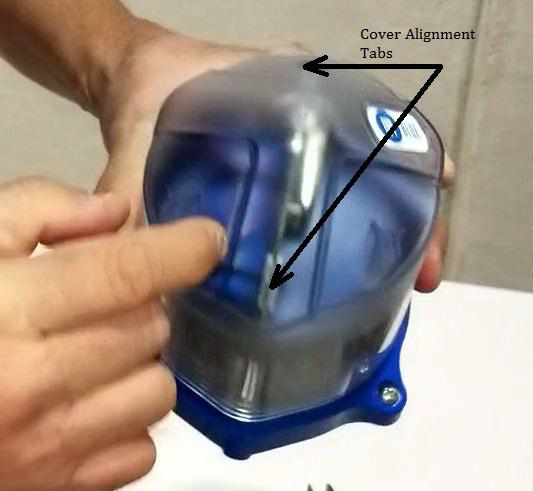
i) Put the cover and the CN base back together (Tip: looking for the correct alignment
between the cover tabs and the main board)
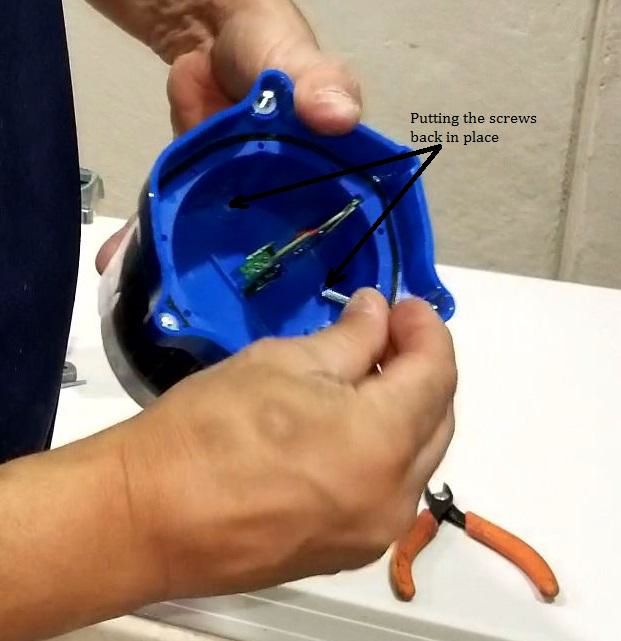
j) Secure the cover to the base by re-screwing it as it was at the beginning
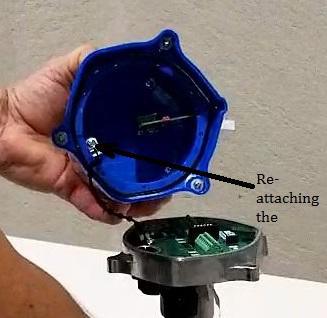
k) Put together the upper CN part (Main Board) and the lower CN part (puck-base) by reattaching
(screwing back) the tether to its original position
l) Close the CN by screwing the upper part (Main board) to its base (“puck”)
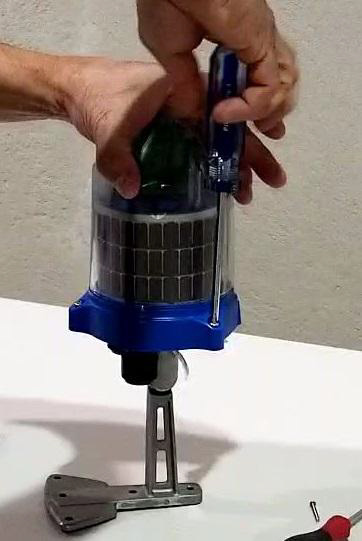
This is it!